A peek in most attics will reveal tried-and-true materials commonly used to insulate homes: fiberglass, cellulose, mineral wool or spray-foam insulation. Regardless of type, the keys to effective insulation are the same—getting the right R-value, a measure of insulation’s ability to resist heat flow, for your home; proper installation; and air sealing. So what’s in your attic?
Fiberglass: This is the insulation that looks like cotton candy, commonly seen in long strips—called batts or rolls—between wall studs and ceiling joists. It might be pink, white or yellow, and it also comes in a loose-fill form, which is often blown into attic spaces. Made of tiny glass fibers, it can be uncomfortable to touch. Wear gloves and a mask while handling it.
Cellulose: Grayish in color, cellulose is a loose-fill insulation that can be blown in between attic joists. It is chemically treated to be resistant to moisture, fire, insects and nesting rodents. Over time, it can settle, reducing its insulation value and requiring an additional layer to bring it back to the recommended R-value for your home.
Mineral wool: Like fiberglass, this comes in batt, roll and loose-fill forms. It’s made from natural and recycled materials and often appears greenish-brown in color.
Spray-in foam: More expensive than other types of insulation, spray-in foam is becoming a more common choice because it provides more insulation and better air sealing. Sprayed on the interior of your roof, it wraps the attic into your home’s envelope; if your HVAC unit is in the attic, it will operate more efficiently if the attic is better insulated. It’s more expensive than blowing in another 6 inches of fiberglass or cellulose, but it’s certainly worth getting a price estimate. For new construction, it’s a no-brainer.
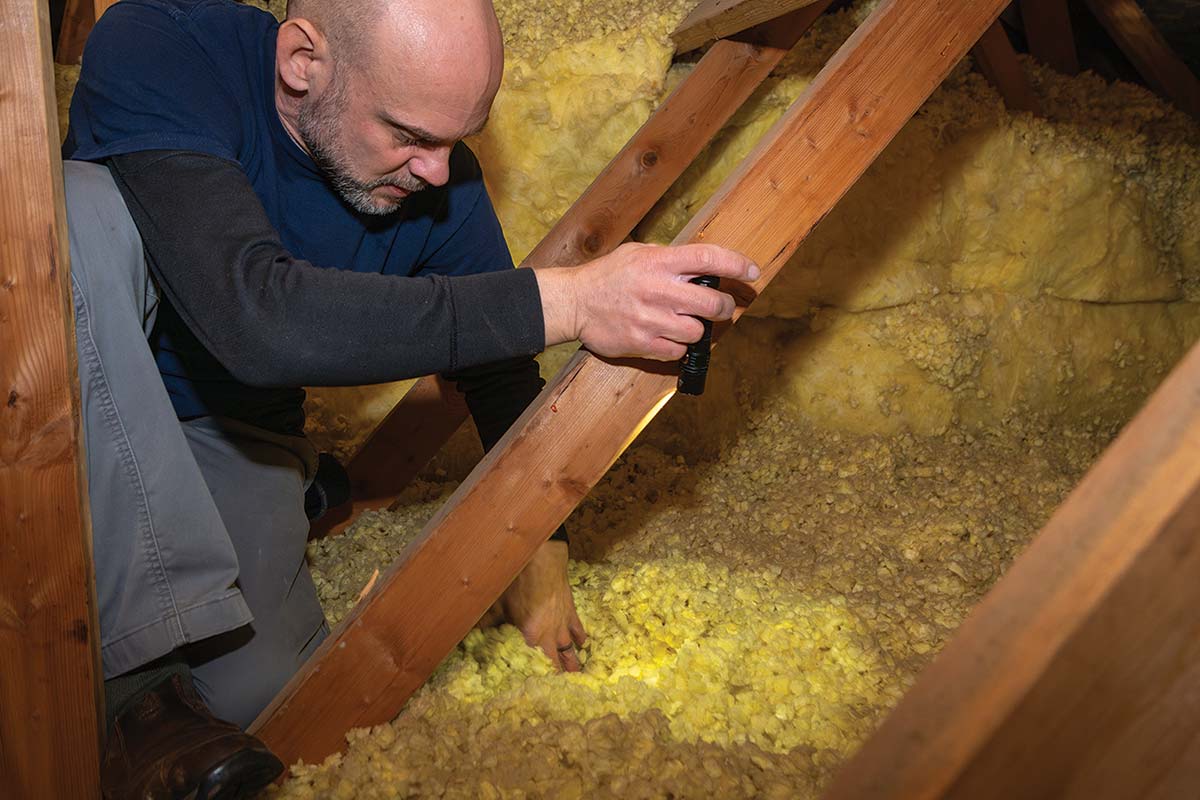
If you’re climbing up to look at what you’ve got, be sure to protect yourself. Bring a flashlight, so you can check your insulation in every nook and cranny and also see where you’re stepping. Only walk where you’re sure there’s secure footing. Wear gloves, eye protection and a dust mask if you’ll be handling any insulation. Limit your time up there if temperatures are very hot or cold.
If the depth of the insulation in your attic is less than 13 inches, your home would probably benefit from some additional insulation. Depending on the type and condition of the existing insulation, it may be recommended that it be removed and completely replaced rather than supplemented. Proper attic insulation is key to keeping your home’s temperatures comfortable and your energy bills manageable year round.
However, making sure your attic—and whole house—are properly sealed should be the step you take before upgrading your attic insulation. Even if your attic insulation is adequate, it’s a good idea to check these areas of your home to make sure they are all in good shape so that the air you are paying to cool in the summer and heat in the winter is staying inside.
- Attic hatches
- Plumbing vents and pipes
- Recessed lighting
- Windows and doors
- Wiring entries
- Open soffits
- Flues and chimneys
Sealing these areas can be fairly easily and inexpensively addressed with flashing, caulking and weatherstripping.
A guide for do-it-yourselfers is available at energystar.gov.