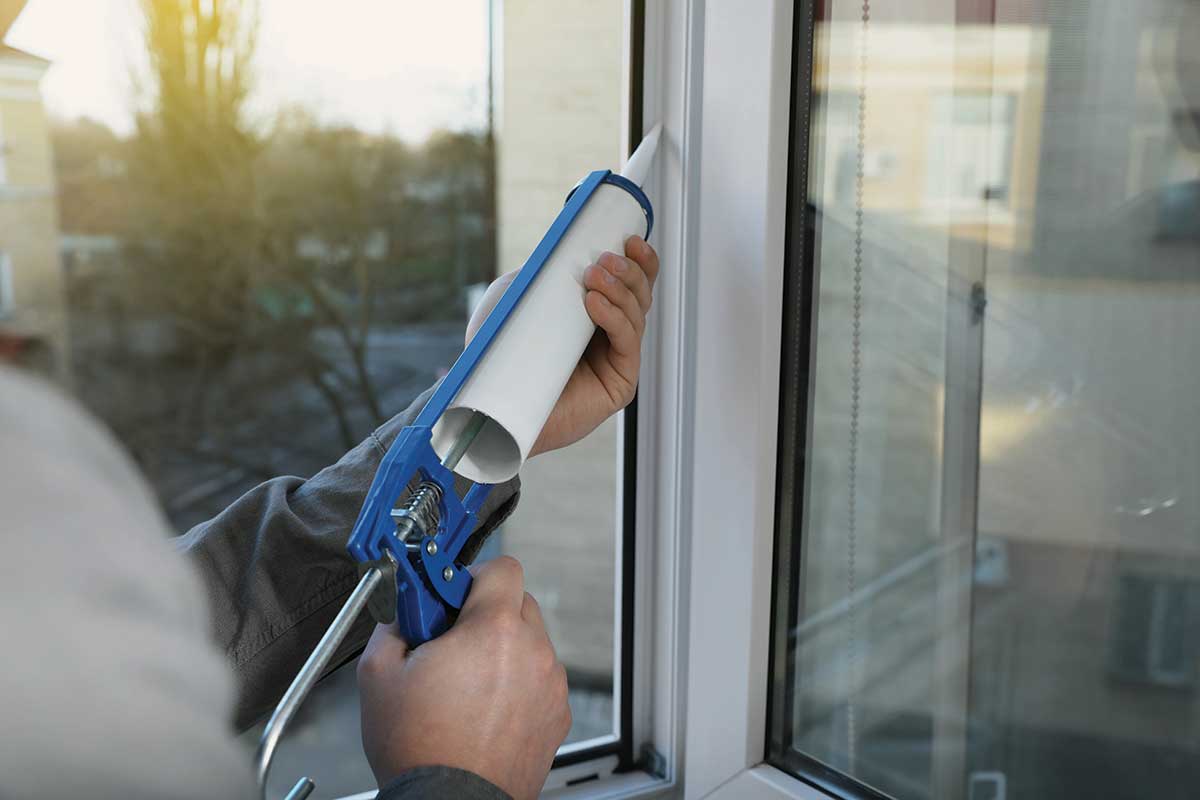
Reducing the amount of air that leaks into and out of your home is a cost-effective way to cut heating and cooling costs, increase comfort, and create a healthier indoor environment.
Caulking and weatherstripping are two techniques that offer quick returns on investments. Caulk is generally used for cracks and openings around door and window frames, and weatherstripping is used to seal doors and operable windows.
Save on heating and cooling costs by checking for air leaks in common trouble spots in your home.
Leaks Matter
Air leakage occurs when outside air enters and conditioned air leaves your house uncontrollably through cracks and openings.
During cold or windy weather, too much air may enter the house. When it’s warmer and less windy, not enough air may enter, which can result in poor indoor air quality. Air leakage also can contribute to moisture problems that affect your family’s health and the structure’s durability. Sealing cracks and openings reduces drafts and cold spots, improving comfort.
The goal is to reduce air leakage and to provide controlled ventilation as needed. Before air sealing, you first need to detect air leaks and assess your ventilation needs for indoor air quality. You can then apply air-sealing techniques and materials, including caulk and weatherstripping.
Sealing Leaks
Hire an energy assessor or other weatherization expert to test your home for air tightness.
Caulk and weatherstrip around doors and windows that leak air. Unfortunately, this chore is not a one and done. You’ll need to check your work annually to make sure it’s all still in good shape.
Caulk and seal areas where plumbing, ducts or electrical wiring comes through walls, floors, ceilings and soffits over cabinets.
Install foam gaskets behind outlet and switch plates on walls.
Inspect dirty spots on any visible insulation for air leaks and mold. Seal leaks with low-expansion spray foam made for this purpose and install house flashing if needed.
Look for dirty spots on your carpet and ceiling paint, which may indicate air leaks at interior wall/ceiling joints and wall/floor joists, and caulk them.
Use foam sealant on larger gaps around windows, baseboards and other places where air may leak out.
Check your dryer vent to be sure it isn’t blocked. This will save energy and may prevent a fire.
Replace exterior door sweeps and thresholds with ones that have pliable sealing gaskets.
Seal air leaks around fireplace chimneys, furnaces and gas-fired water heater vents with fire-resistant materials such as sheet metal or plasterboard and furnace cement caulk.
Keep the fireplace flue damper tightly closed when it’s not in use. Fireplace flues are made from metal, and over time repeated heating and cooling can cause the metal to warp or break, creating a channel for air loss.
To seal your flue when not in use, consider an inflatable chimney balloon that fits beneath your fireplace flue. They can be removed easily and reused hundreds of times. If you forget to remove the balloon before making a fire, the balloon will automatically deflate within seconds of coming into contact with heat.
A reasonably capable do-it-yourselfer can create an inexpensive fireplace flue plug by filling a high quality plastic trash bag with fiberglass batt scraps and jamming it into the flue. Attach a durable cord with a tag that hangs down into the fireplace to remind you the flue is blocked and provide for easy removal. If you want to save money on fireplaces, replace them with an EPA-certified insert, installed by a certified professional.


